Sunday 20 August 2017

QUICK & EASY


I titled these two projects quick and easy, precisely because they are quick and easy projects to make. These cards perfect for those moments when you son is about to go to a birthday party and you realise that you haven't yet made a card. This is literally what happened to me and I was able to create these cards in just under 20 minutes. 


The star for me in both of these designes are the paper. This is called 'Pick A Pattern' designer series paper. Its perfect for cards for younger people. I love the splash of colours on neutrals. There is not a lot of elements to this card that I can talk about, except for maybe the 'Happy Birthday' thinlit die. Its absolutely one of my favourite product in this catalogue, as it get used quite a lot. I also used the multipurpose adhesive paper at the back of the piece of paper I cut out the happy birthday from, this makes sticking the thinlit to the card front so much easier, completely mess free.


Thank you for visiting my blog today, hope you have enjoyed browsing through my projects and found some inspirations. If you like what you see, please leave a comment or two below, or simply click on one of the reaction buttons to let me know what your thoughts are about my creations. I value your opinion and I am always looking to improve my craft through constructive feedback from my guests/readers. I am also looking to expand my audience base, so please feel free to share my creations within your social circle.

Friday 18 August 2017

SEASONS


Today I am going to tell you about my very first Stampin' Up party I facilitated  with a friend of mine as the hostess. For this class I used the entire suite of Clour Theory products: Clour Theory Cardstock, Colour Theory card pack, Colour Theory Desginer Series Paper, Colourful Seasons Bundle, Glitter Enamel Dots. After considering a number of options, I decided to used the cards in the memories & more card pack as the main element in each designs. Keeping the four seasons as a theme in mind, I needed to come up with a set of designs that weren't too complicated as there were going to be many first time crafters at the party. 

for the first set of designs, I used the note card and & envelope pack. The note cards are the perfect size for the smaller cards in the card pack. One design for each seasons, I created four samples using a very simple layout, which included a card from the card pack, a back panel, and a slim banner placed underneath. To decorate, used some thinlit dies appropriate for each season, e.g: the beach chairs for summer and snowflakes for winter and so on. Another element that stayed the same in each cards are the labels with the greeting. While each card front looked a little different, the common elements tied them all together. 


The second set of designs, I used a standard size card, with the larger card in the card stack. Instead of using the back panel as a frame for the card front, I made it just a little smaller than the card base, giving it more surface area for some background stamping. I stamped the background with images appropriate for the season. E.g: cherry blossoms for the spring card. To decorate, I used the beach chair again, but just one this time, and a circled punched label with a greeting, finishing it off with some gold threads at the bottom of the label.


Thank you for visiting my blog today, hope you have enjoyed browsing through my projects and found some inspirations. If you like what you see, please leave a comment or two below, or simply click on one of the reaction buttons to let me know what your thoughts are about my creations. I value your opinion and I am always looking to improve my craft through constructive feedback from my guests/readers. I am also looking to expand my audience base, so please feel free to share my creations within your social circle.

BIRTHDAY INVITATIONS & MORE


Its birthday season again in my household, where every year around this time, I get a little crazy trying to prepare for my eldest and my youngest son's birthdays. What makes it really difficult is that they are only two weeks apart. But its also a time to get creative, I have loads of fun thinking of different ways to celebrate their special day. This year, my little one wanted to have a cars 3 themed party, and for my eldest, I decided to throw him a glow in the dark themed dance party. Below are some pics of the invites I created. 


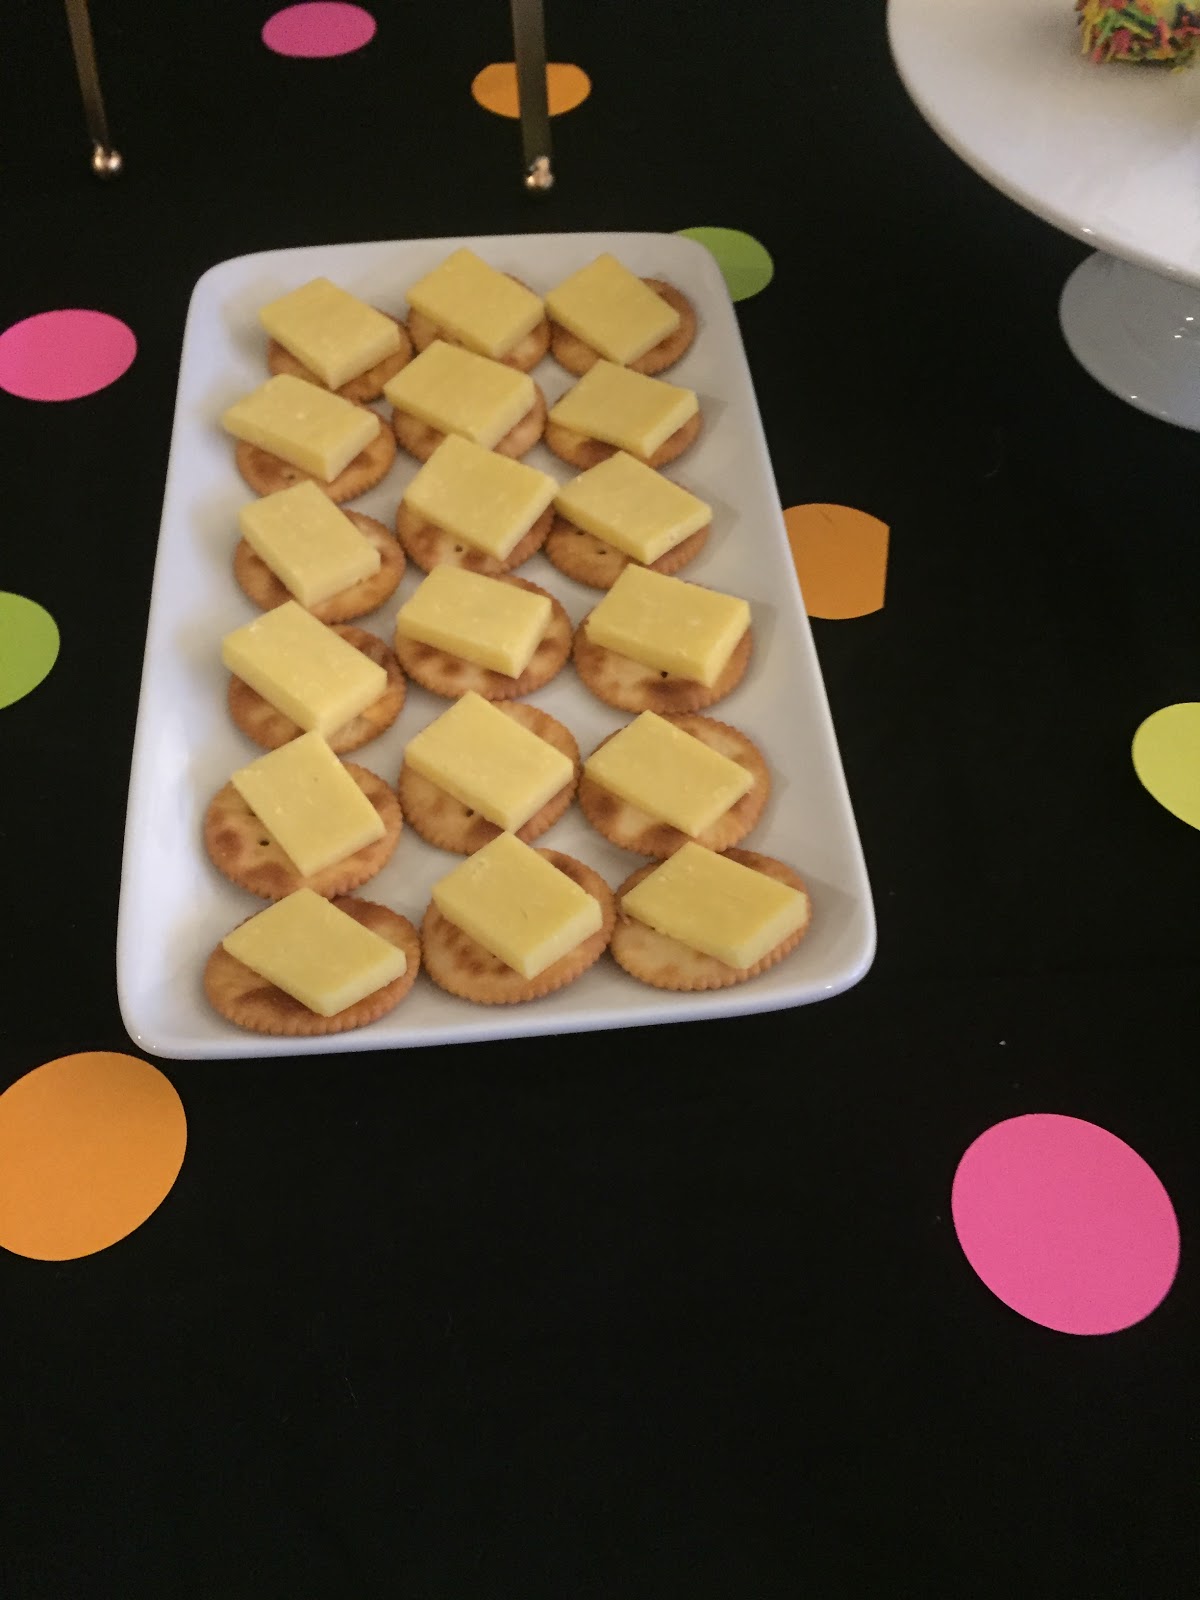
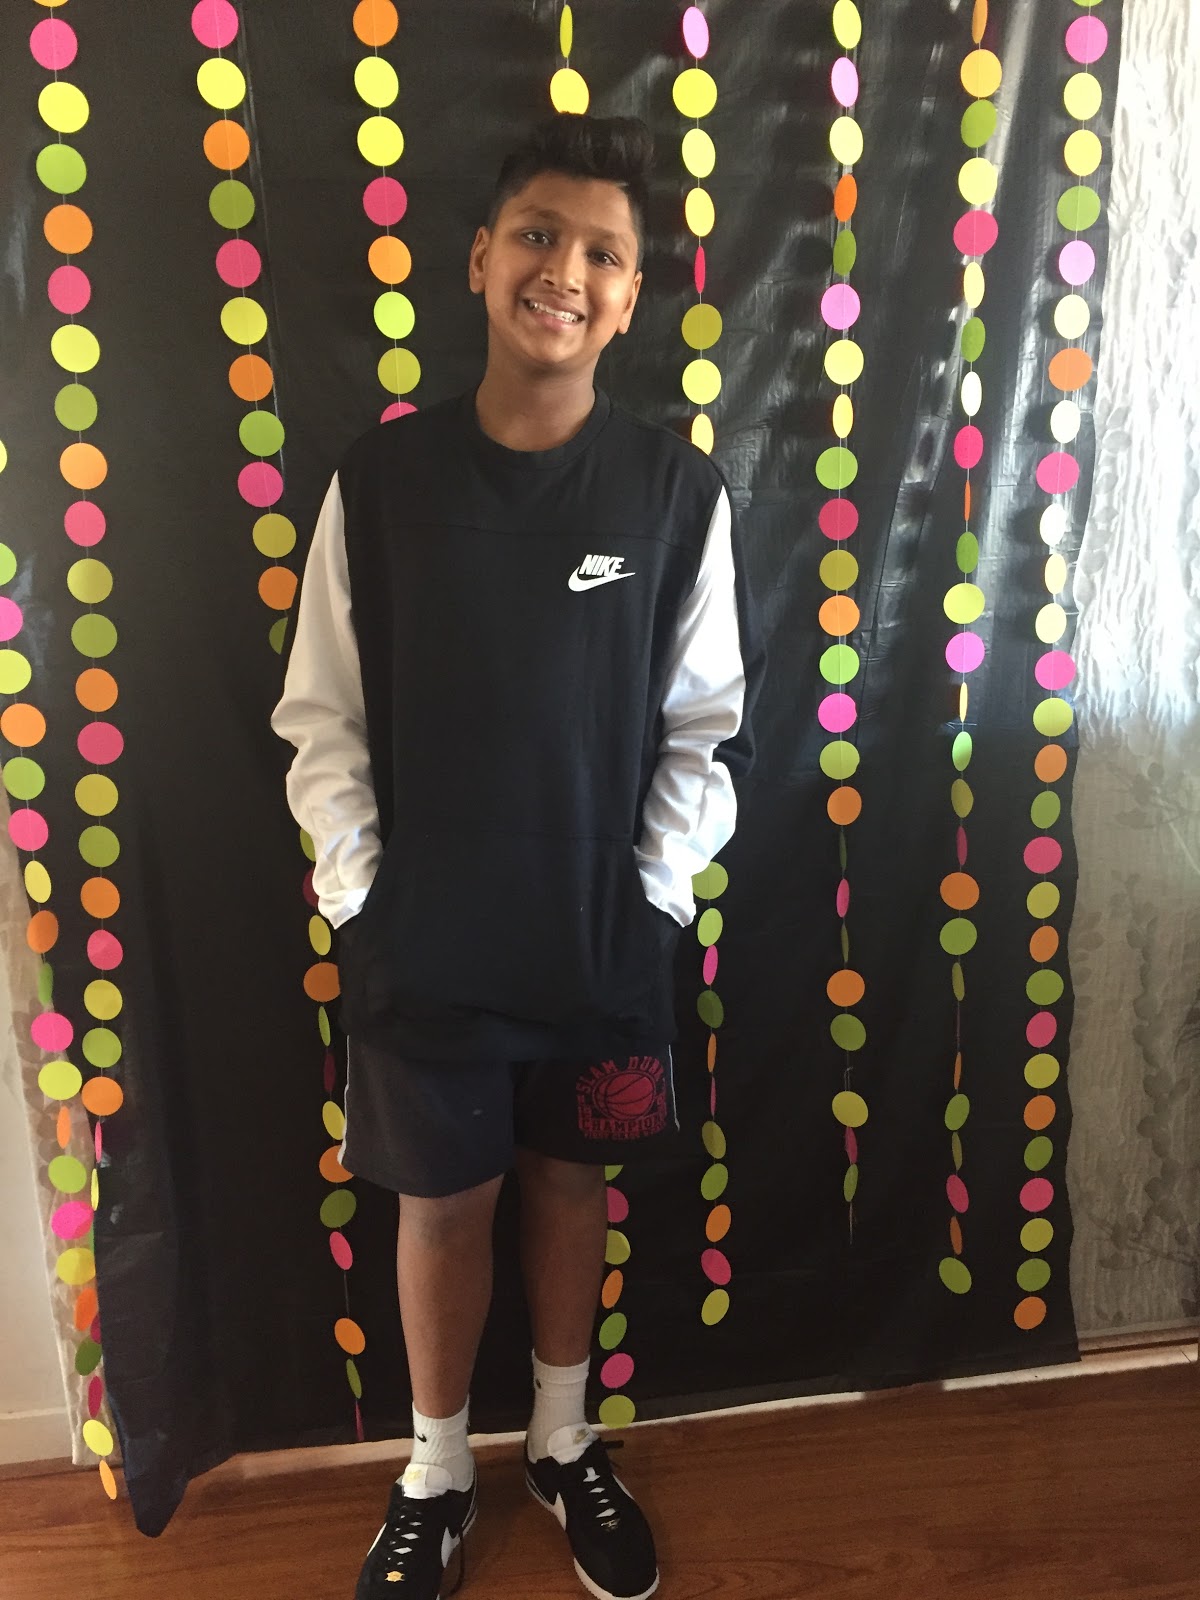
This is my son Isaiah, he turned twelve this year. He was quite please with his birthday invites, and his friends thought they were super cool. Below are some pics of his glow in the dark cake, cookies, cupcakes, some party deco ideas.


Now lets have a look at the Cars 3 party. I was able to find some cars 3 images online and create some personalised tags for the party bags and treats for his Kinder friends. Kaelan was super excited to give out little pack of treats to his friends.


I was very pleased with how the caked turned, much better than I had imagined. I also made some oval shape cookies and decorated them myself.


This is Kaelan with his Birthday cake, I love how happy he looks. This is what makes all the effort so worth while.


Thank you for visiting my blog today, hope you have enjoyed browsing through my projects and found some inspirations. If you like what you see, please leave a comment or two below, or simply click on one of the reaction buttons to let me know what your thoughts are about my creations. I value your opinion and I am always looking to improve my craft through constructive feedback from my guests/readers. I am also looking to expand my audience base, so please feel free to share my creations within your social circle.